
Embeddings and ChromaDB
In the previous section, we created a NextJS application and chunked the data. Now, we will be creating the embeddings and storing them in ChromaDB.
Store the splitted text to ChromaDB
Now that we have created the function to split the text into chunks using RecursiveCharacterTextSplitter, we will now store the chunks into ChromaDB. We will be using the Chroma's default embedding function to create embeddings for this project. This embedding model can create sentence and document embeddings that can be used for a wide variety of tasks. This embedding function runs locally on your machine, and may require you to download the model files. Find out more about it here.
npm install @chroma-core/default-embed
//Function to save the chunks to chromaDB (add this after initializing the collection)
await collection?.add({
    ids: chunks?.map((_, index) => `${filePath}-${index}`),
    documents: chunks,
    metadatas: chunks?.map((_, i) => ({
        ...metadata,
        filePath,
        chunkIndex: i,
    })),
});

console.log(`Ingested ${chunks.length} chunks from ${filePath}`);
Creating the github Action to automate the process of embedding creation
Now that we have our embedding function ready, we want it to only get triggered when there is a new file added to the knowledge folder. We will be creating a github action to automate the entire process of chunking, embedding creation and storing them in ChromaDB. This will help us to keep our knowledge base up-to-date and also ensure that we have the latest information available for our chatbot.
Remember, whenever creating a github action, the first step is to create a folder with the name .github in the root directory of your project. If you have already initialised the project to a github repo, the .github folder will already be present. Inside this folder, create another folder with the name workflows. Inside this folder, create a file with the name convertToEmbeddings.yml.
name: Ingest Knowledge Base

on:
   push:
      paths:
       - "knowledge/**"

jobs:
   ingest:
      runs-on: ubuntu-latest

      steps:
         - name: Checkout repo
           uses: actions/checkout@v3

         - name: Detect changed files
           id : changes
           uses: tj-actions/changed-files@v44
           with:
              files: "knowledge/**"

         - name: Ingest Changed files
           env:
              INGEST_API_URL: ${{ secrets.INGEST_API_URL }}
              INGEST_API_KEY: ${{ secrets.INGEST_API_KEY }}
           run: |
              for file in ${{ steps.changed.outputs.all_changed_files }}; do
                echo "Ingest $file"
                curl -X POST "$INGEST_API_URL"
                  -H "Authorization: Bearer $INGEST_API_KEY"
                  --data-raw "$(jq -n                    --arg path "$file"
                    '{ filePath: $path, content: $content }')"
              done
Understanding the Workflow
- 01.Trigger: The workflow runs automatically whenever you push changes to the
knowledgefolder. - 02.Detect Changes: It uses
tj-actions/changed-filesto identify exactly which files were added or modified. - 03.Ingestion Loop: For every changed file, it makes a POST request to your API endpoint.
- 04.Security: It uses GitHub Secrets (
INGEST_API_KEY) to authenticate the request, ensuring only valid updates are processed.
Important Note
INGEST_API_URL and INGEST_API_KEY to your GitHub repository secrets for this action to work correctly.Port forwarding using ngrok
Now that we have the github action ready, we want to test it. But how do we do it when we have our project running on localhost:3000 ? GitHub Actions run on a virtual machine, so they don't have direct access to your local machine. This is where ngrok comes in. ngrok is a tool that creates a secure tunnel from the internet to your local machine.
Installing ngrok
First, you need to install ngrok. You can download it from the official website: https://ngrok.com/
ngrok http 3000After you enter the above command, there would be a new domain link given to you, update the github secret environment variable INGEST_API_URL with this new domain link.
Testing the GitHub Action
Now that we have the github action ready, we want to test it. We can do this by pushing a file to the knowledge folder. Download the sample file from the GitHub Gist given below and store it inside the knowledge folder.
Submit the changes to GitHub. You can check the logs of the workflow to see if the data is ingested successfully. This is a sample example of how the workflow would look like: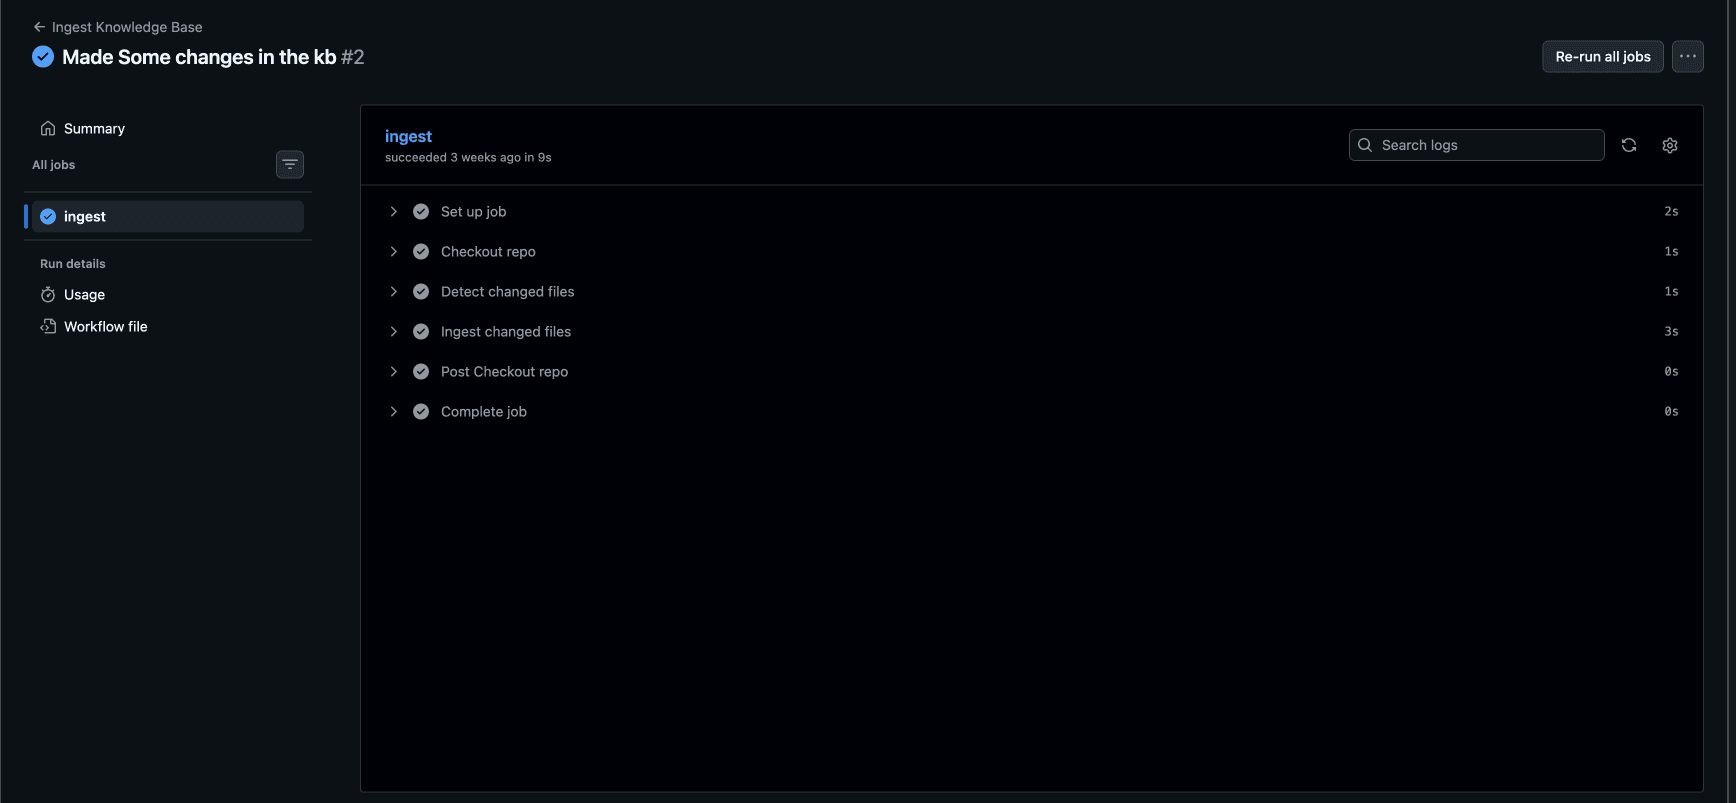
If everything goes correct, this is how your chormaDB would look like: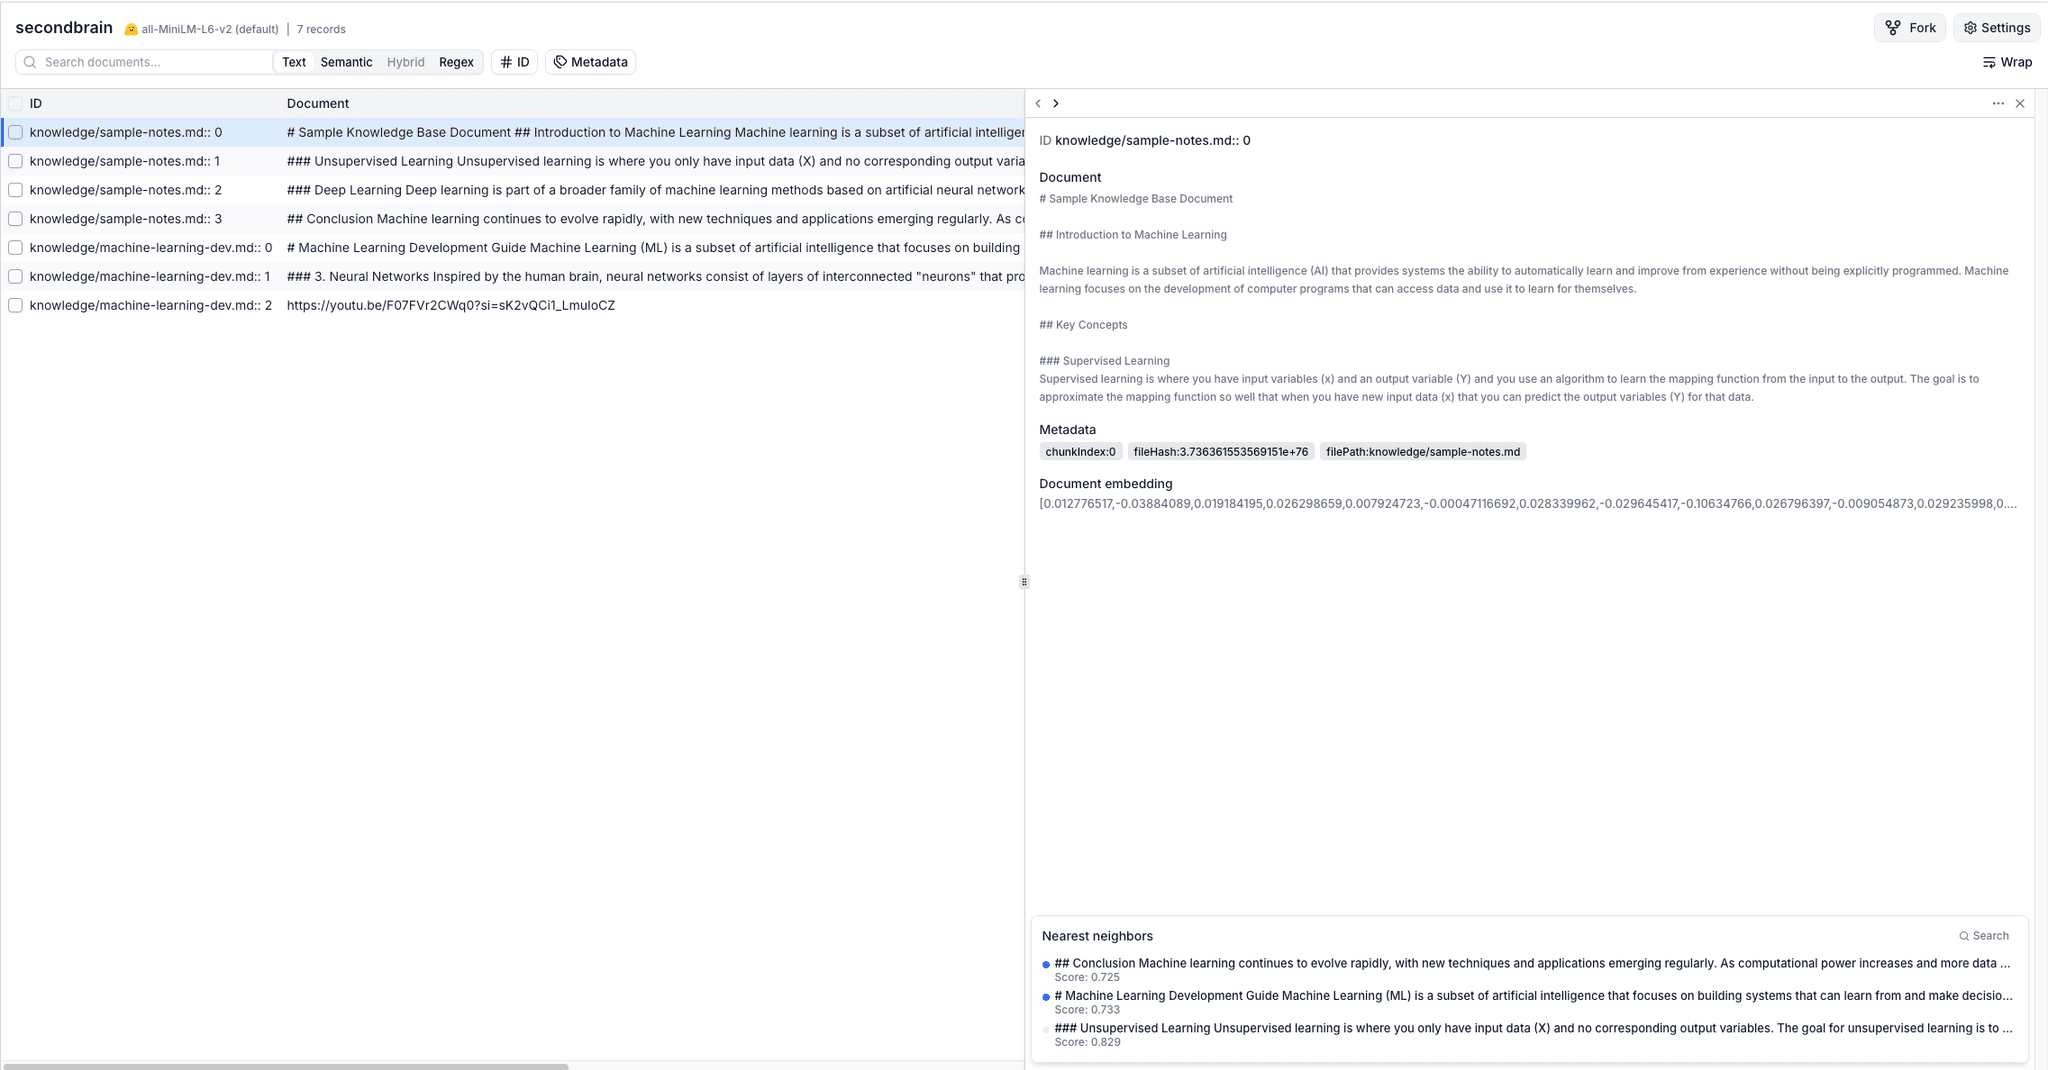
Next Steps
In the next section, we’ll:
Streaming UI
Get the response in the form of Streaming UI just like we get from ChatGPT
If you want to know more about this, do checkout our video guide: