Environment Setup
Now that we have a basic understanding of what we are going to do in this project, let us now setup the environment for the project.
Prerequisites! 📋
Section titled “Prerequisites! 📋”Before moving forward, these are the prerequisites for the project.
- Your Favorite IDE (I personally use Visual Studio Code)
- Nodejs (https://nodejs.org/en)
- Any Vector Database (We will use Supabase)
Once you are done installing all the above stack, you can verify the installation of Nodejs by opening your terminal and typing this:
node --v node -versionWhat is LangChain?
Section titled “What is LangChain?”Think of LangChain like a recipe for building smart apps that talks and thinks in natural language. In the old days, you’d hard-code every step of a program. LangChain lets you mix and match “blocks” (like kitchens with different tools) so you can whip up an AI application without reinventing the wheel each time.
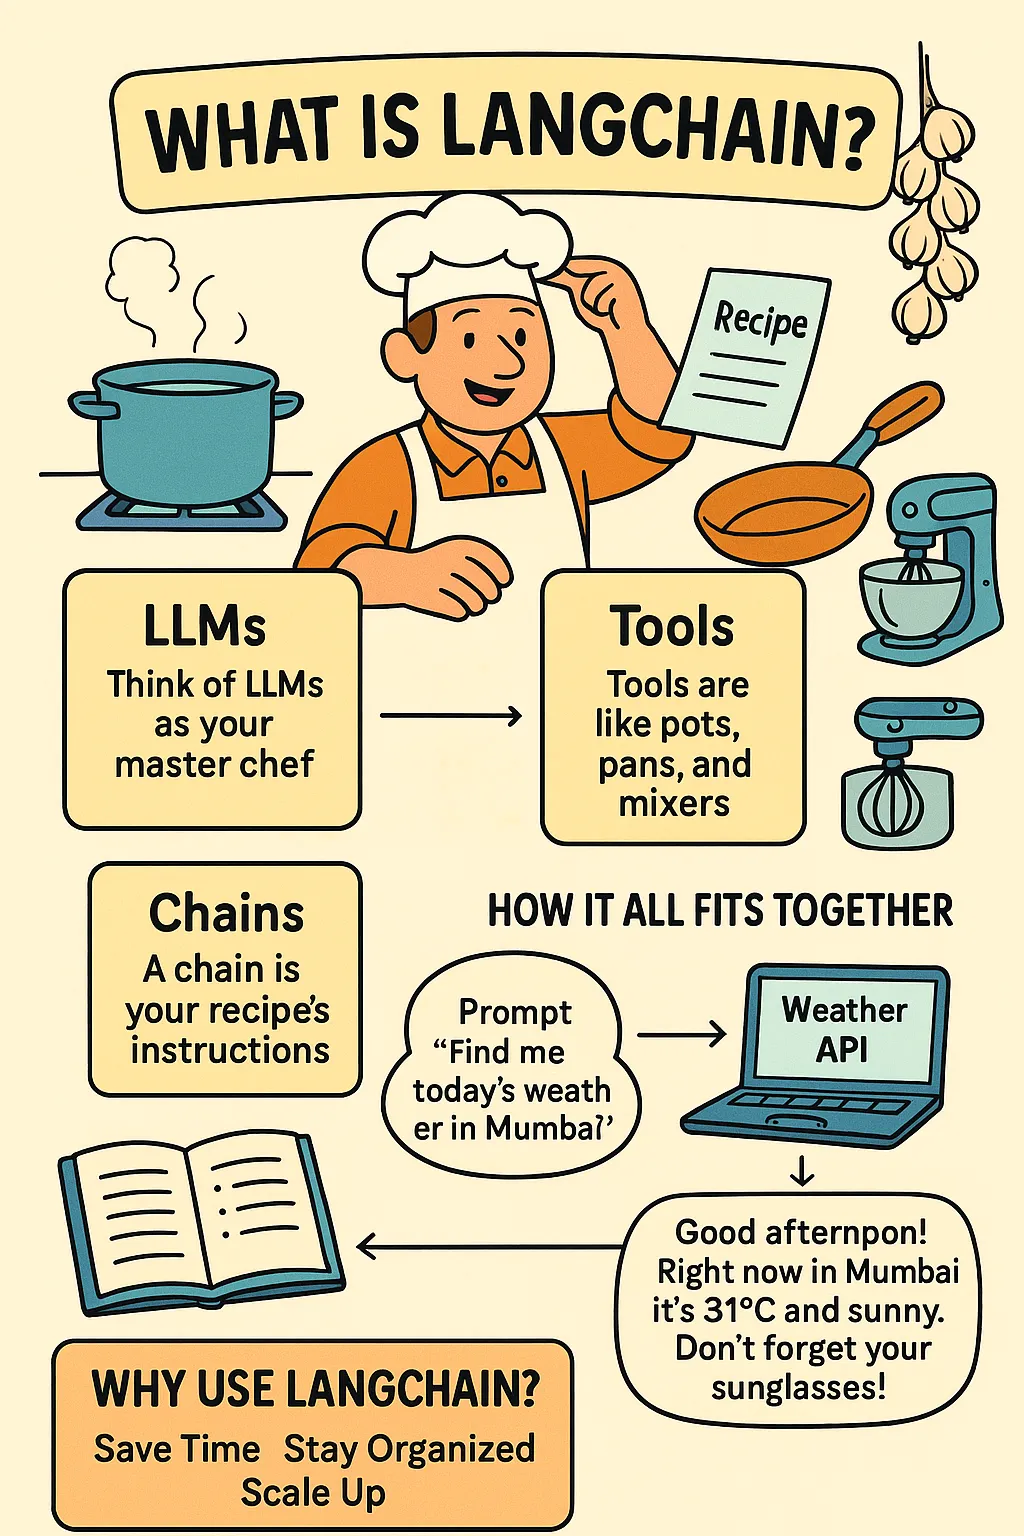
1. LLMs (Language Models)
Section titled “1. LLMs (Language Models)”- What they are: Huge, pretrained text engines (e.g., OpenAI’s GPT, Google’s PaLM).
- What they do: They “understand” and “write” human-like text when you give them prompts.
- Analogy: Think of an LLM as your master chef - it knows tons of language and cuisines, but needs your distractions.
2. Tools (APIs, Database, Files)
Section titled “2. Tools (APIs, Database, Files)”- What they are: Connectors to outside services - weather APIs, search engines, databases, even your own CSV files.
- What they do: They fetch data or perform tasks that in the LLM alone can’t do (like checking today’s weather or querying your customer list).
- Analogy: Tools are like pots, pans, and mixers in the kitchen. Your chef (LLM) uses them to get special ingredients or cook things just right.
3. Chains (Combining Steps)
Section titled “3. Chains (Combining Steps)”- What they are: Predefined workflows that string LLM calls and Tools together in order.
- What they do: Make multi-step processes easy: e.g., “Read a customer question -> look up their order status in the database -> draft a reply email.”
- Analogy: A chain in your recipe’s step-by-step instructions. It tells the chef when to grab the whisk or preheat the oven, so every dish comes out perfect.
How It All Fits Together
Section titled “How It All Fits Together”You write a prompt
“Find me today’s weather in Mumbai”LangChain sends it to the LLM to understand your intent.
LLM says, “I need outside data,“so LangChain invokes the Weather API tool.
The tool returns “31 °C, Sunny,“which the LLM wraps up intro a friendly response.
Result”Good afternoon! Right now in Mumbai it’s 31 °C and sunny. Don’t forget your sunglasses!
🧠 Why Use LangChain ?
Section titled “🧠 Why Use LangChain ?”- Save Time: No need to glue together every API and prompt by hand.
- Stay Organized: Recipes (chains) live in code so you can review, update, and share them easily.
- Scale Up: Add new tools or swap in a different LLM without rewriting your whole app.
Just like learning to cook, you’ll start with simple recipes. Over time you’ll look back—and thank yourself for mastering the basics. With LangChain’s blocks (LLMs, Tools, Chains), you’ll be mixing up powerful AI dishes in no time!
Setting up the backend server
Section titled “Setting up the backend server”We will be creating the backend server using Express. Follow the following steps to setup:
Create a directory with the name server inside your project folder
Terminal window mkdir youtube-rag && cd youtube-ragmkdir servercd serverInitialise a
package.jsonfileTerminal window npm init -yInstall the following packages
Terminal window npm install express cors dotenv @langchain/core @langchain/community youtubei youtubei.jsHere we are using various packages, each has its own role:
express= A minimal and flexible Node.js web framework used to build APIs and web servers.cors= A middleware for Express that enables Cross-Origin Resource Sharing, allowing your frontend to talk to your backend.dotenv= Load environment variables from a.envfile intoprocess.env. Helps you keep secrets (like API keys) out of your source code.@langchain/core= The foundational building blocks of the LangChain framework. It contains core abstractions like prompts, memory, output parsers, and chains.@langchain/community= This is where all the community-supported integrations live — including tools, retrievers, and document loaders.youtubei= Unofficial Node.js wrapper for YouTube’s internal API. Helps you fetch YouTube video details, search results, comments, etc., without needing an API key.youtubei.js= A fork or related implementation ofyoutubei. It’s used in a similar way to fetch YouTube video data.
Creating a very basic server in express
index.js import express from 'express';import cors from 'cors';const app = express();//Middleware to parse JSON bodiesapp.use(express.json())//Configure and use corsconst corsOptions = {origin: 'http://localhost:5173' //Our Frontend URL,methods ['GET', 'POST','PUT', 'DELETE'] //API Methods to SupportallowedHeaders: ['Content-Type', 'Autorization']}app.use(cors(corsOptions))app.use('/',(req,res) => {res.send('Server is Up and Running!!')})app.listen('8000', () => {console.log('Server Running on PORT 8000')})export default app;Start the Server by Running
Terminal window nodemon index.jsHere
nodemonwill help restart the server on every small change we make on the server. Else traditionally we will have to kill the server and restart it again.
⚙️ Get Supabase API Key
Section titled “⚙️ Get Supabase API Key”- Go to Supabase
- Create an Organization:
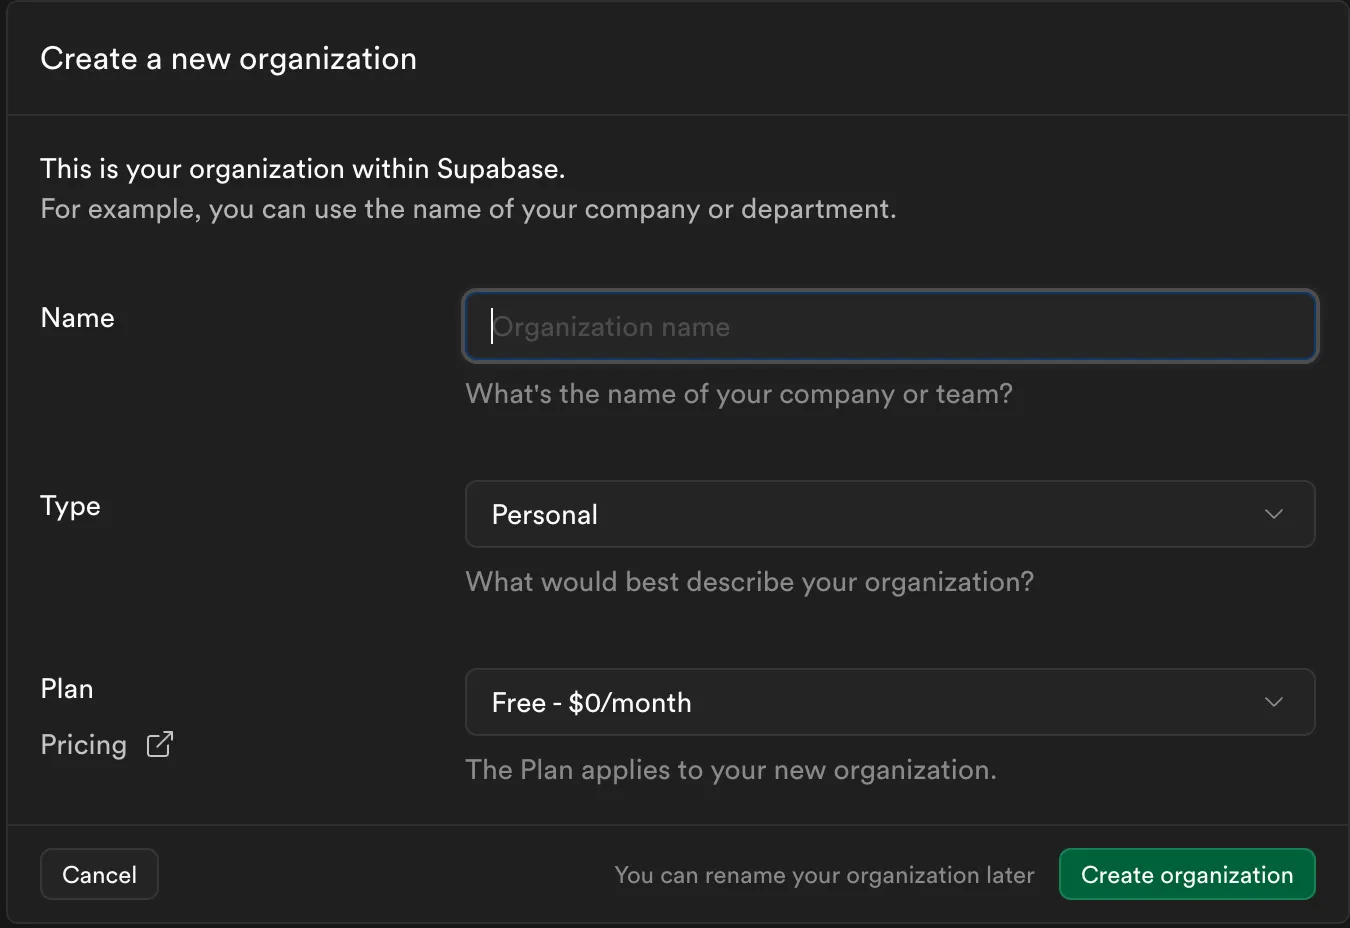
- Once Organization is created, get the API Key and Base Url:

- Copy them in
.envfile created in the root of your server directory:.env SUPABASE_URL=YOUR_SUPABASE_URLSUPABASE_API_KEY=YOUR_API_KEY
Final Setup
Section titled “Final Setup”Once you are done with this, this is how your final server folder setup will look like:
Directoryserver
- node_modules
- index.js
- .env
- package.json
- package-lock.json
If your structure looks somewhat like this, Congratulations 🥳 on creating your first node server.
⚙️ Next Steps
Section titled “⚙️ Next Steps”In the next section, we’ll:
- Create and Configure the Tables for Supabase
If you want to know more about this, do checkout our video :